How to Add Estimated Delivery Date For Shopify Via Custom Code

Want to make your Shopify store easier to navigate?? One way to do this is to add an estimated delivery date on orders. Let’s walk through the process of implementing this feature using custom code. Why Add Estimated Delivery Dates? This feature offers several key benefits for Shopify stores: Let’s unwrap the surprising impact of […]

How to Import AliExpress Reviews Into Shopify (2)

Want to make your Shopify store easier to navigate?? One way to do this is to add an estimated delivery date on orders. Let’s walk through the process of implementing this feature using custom code.

Why Add Estimated Delivery Dates?

This feature offers several key benefits for Shopify stores:

Let’s unwrap the surprising impact of this seemingly simple addition to your Shopify store.

1. Customer Satisfaction Enhancement

Providing clear delivery timeframes reduces uncertainty in the purchasing process. By offering upfront information about when customers can expect their orders, online stores address one of the most common concerns in e-commerce. This transparency improves the overall shopping experience and gives customers a sense of control.

2. Customer Service Optimization

Displaying estimated delivery dates proactively answers one of the most frequent questions received by support teams. This reduces the volume of “Where’s my order?” inquiries, allowing customer service representatives to focus on more complex issues. As a result, the efficiency of support operations improves, benefiting both the business and its customers.

3. Conversion Rate Improvement

Something as simple as an estimated delivery date can be the tipping point for hesitant shoppers. This feature helps customers make informed decisions, potentially reducing cart abandonment rates. It’s particularly effective during gift-giving seasons or for time-sensitive purchases, where your customers are going to be extra sensitive about what delivery timing looks like.

4. Brand Trust and Credibility Boost

By being upfront about delivery timelines, stores demonstrate professionalism and confidence in their fulfillment process. This transparency builds credibility for the brand and can set a store apart from competitors who don’t offer this information.

Steps to Add Estimated Delivery Date

  1. Access Your Theme:


  1. Customize Your Theme:

    • Click on the Customize button for your current theme.


  1. Select Product Template:

    • In the theme editor, navigate to Products > Default product template or your custom product template if you have one.


  1. Add Custom Liquid Section:

    • Click on Add block and select Custom Liquid. Position this block where you want the estimated delivery date to appear, preferably just below the “Buy It Now” button for visibility.


  1. Insert Code:

    • Copy and paste the following code into the Custom Liquid input box:
{% assign min_days = 5 %}

{% assign max_days = 10 %}

{% assign current_date = 'now' | date: '%s' %}

{% assign min_delivery_timestamp = current_date | plus: min_days | times: 86400 %}

{% assign max_delivery_timestamp = current_date | plus: max_days | times: 86400 %}

{% assign min_delivery_date = min_delivery_timestamp | date: "%B %d" %}

{% assign max_delivery_date = max_delivery_timestamp | date: "%B %d" %}

<p>Estimated Delivery: {{ min_delivery_date }} - {{ max_delivery_date }}</p>

  1. This code sets a default estimated delivery range of 5 to 10 days from the current date. You can adjust the delivery_days_min and delivery_days_max variables to change this range.

  2. Save Changes:

    • Click the Save button to apply your changes.

  3. Preview Your Store:

    • Use the Preview button to check if the estimated delivery date displays correctly on your product pages.

Testing Your New Feature

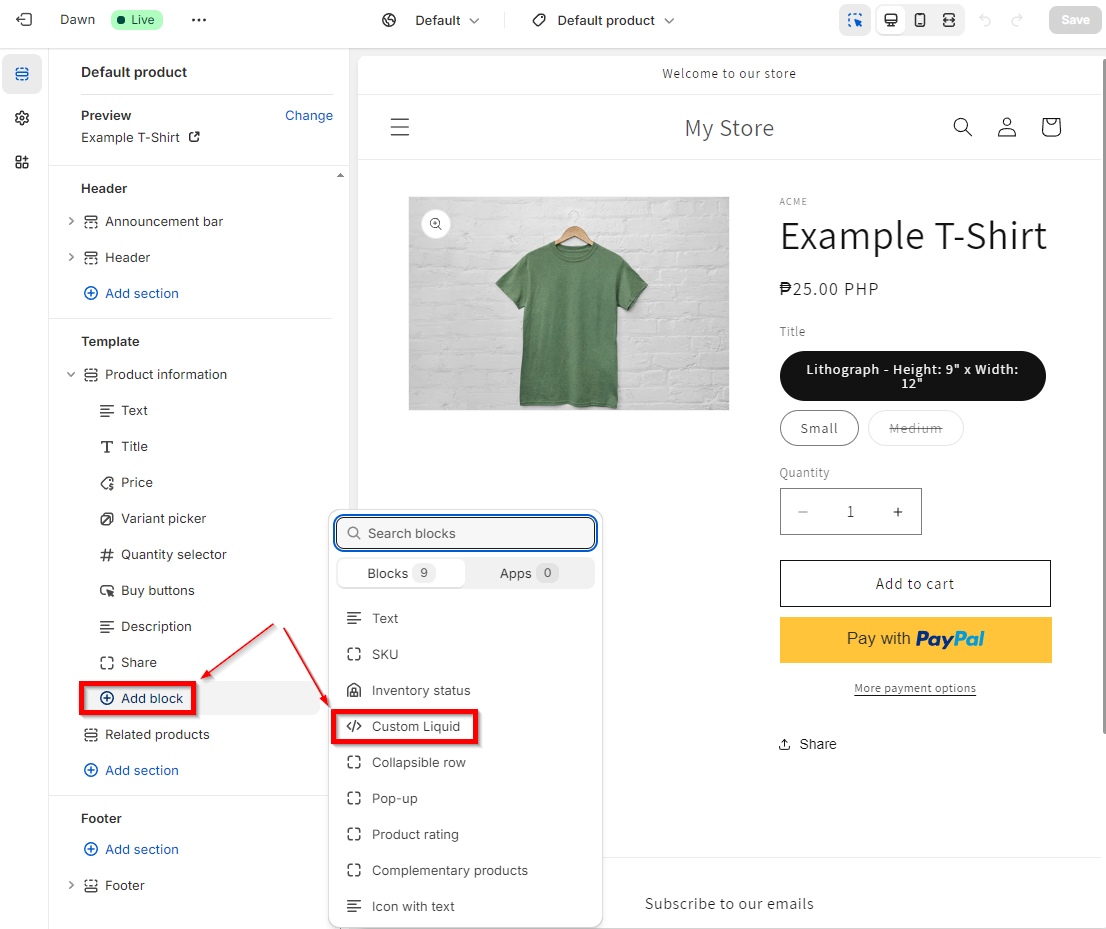
After adding the estimated delivery date feature to your Shopify store, follow these steps to ensure it works correctly:

  1. Save your changes

    • In the theme editor, save all the modifications you’ve made.

    • Double-check that everything is saved to avoid discrepancies.

  2. Preview your theme

    • Use the preview function to see your store as customers would.

    • Look for the estimated delivery date on product pages.

    • Make sure it’s clearly visible and easy to understand.

  3. Check multiple product pages

    • Visit different product pages in your store.

    • Verify that the delivery date shows up consistently on each page.

    • Ensure it’s accurate for products with different shipping times.

  4. Test on various devices

    • View your store on smartphones and tablets.

    • Check that the feature looks good and works well on smaller screens.

    • Ensure the delivery date is visible without zooming or scrolling.

  5. Try different web browsers

    • Open your store in Chrome, Firefox, Safari, and Edge.

    • Confirm the feature works correctly in each browser.

    • Look for any formatting issues or display problems.

  6. Examine special cases

    • Check how the feature behaves for out-of-stock items.

    • Test it with pre-order products if you offer them.

    • Verify it works during simulated high-traffic periods.

  7. Get user feedback

    • If possible, ask a few customers or team members to test the feature.

    • Gather their opinions on its usefulness and ease of use.

    • Use their feedback to make any necessary improvements.

Conclusion

Establishing a simple affiliate program involves understanding the mechanics of tracking user interactions, using cookies or sessions for user identification, and ensuring a seamless experience from click to conversion. By following the outlined steps and best practices, you can create an effective program that not only incentivizes affiliates but also drives sales for your business.

Ready to start your journey in affiliate marketing? Join Simple Affiliate today and unlock the potential of earning while promoting products you love!